Setting up a VPN connection on a MAC is made easy by following the simple 7 step process below!
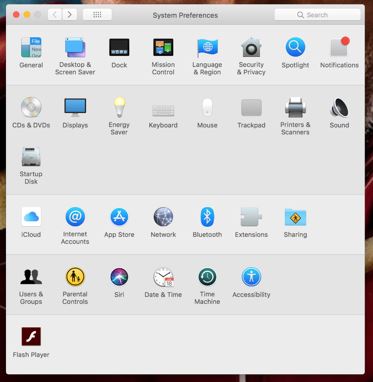
Click the apple in the top left corner of your screen and select System Preferences:
In System Preferences, click Network.
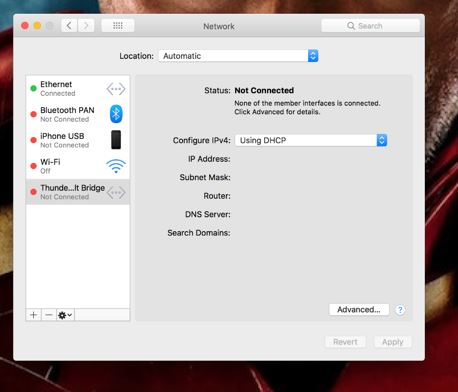
In the Network section, click the + sign at the bottom left to create a new connection
For the interface drop-down, choose VPN, for the VPN Type choose L2TP over IPSEC. Leave the service name as VPN (L2TP), then click create.
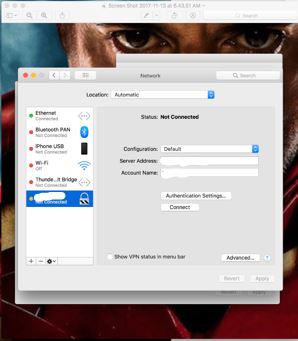
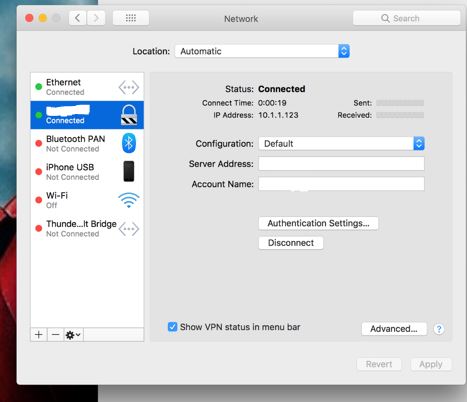
Highlight your new connection. Leave configuration as default, change the server address to the IP address that you are attempting to connect to. Change account name to the host that you are connecting to. Check the Show VPN status in the menu bar.
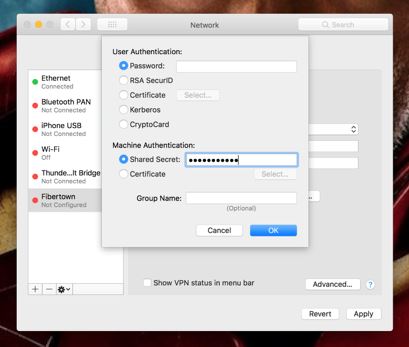
Click Authentication Settings. Leave the password blank and under Shared Secret put your secret code, then click OK.
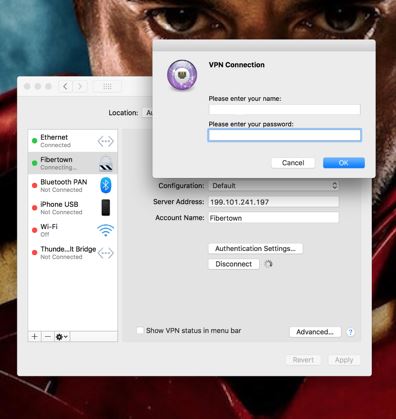
Click Apply, and then connect. It should bring up a box for your credentials. Add the username and password you were given, then click OK. No domain is needed, just the username. It should now connect you to the VPN host.
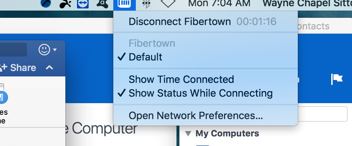
It will also add a menu bar so that you can connect and disconnect without going to system preferences.
Hopefully, this article was helpful in getting you connected to a VPN service on your MAC device!
We use cookies to improve user experience and analyze website traffic. By clicking “Accept,” you agree to our website’s cookies use as described in our Privacy Policy. You can manage your cookie settings at any time within your browser preferences.